How to Grow Microgreens Indoors: Top Methods for Success
Microgreens are young, edible greens harvested just after the first true leaves develop. Despite their small size, they are packed with nutrients—often containing higher concentrations of vitamins, minerals, and antioxidants than their mature counterparts. Learning how to grow microgreens indoors is a simple, cost-effective way to enjoy fresh, healthy greens year-round, even in limited space.
My house is going to turn into a microgreens factory, haha.
By cultivating microgreens at home, you can take control of your food’s freshness and quality while reducing grocery bills. Indoor microgreen growing requires minimal tools and time, making it an ideal choice for both beginners and seasoned gardeners. In this guide, you’ll discover exactly what microgreens are, how to grow them indoors from start to harvest, and how to troubleshoot common problems for a successful and sustainable harvest.
What Are Microgreens?
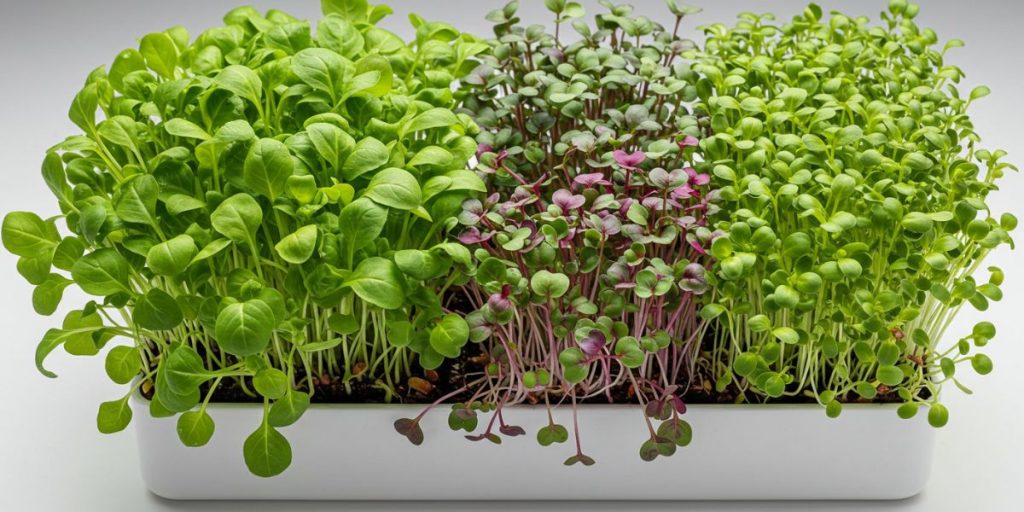
Microgreens are the tender, immature shoots of vegetables and herbs, harvested when the first set of true leaves appears. They fall between sprouts and baby greens in terms of growth—unlike sprouts, microgreens require light and typically grow in soil or a growing medium. They are usually harvested within 7 to 21 days of germination.
Some of the most popular varieties for indoor growing include arugula, radish, broccoli, kale, sunflower, and pea shoots. These greens not only add a nutritional boost but also bring visual appeal and bold flavor to meals. With so many nutrient-dense options available, growing your own microgreens can be both enjoyable and tailored to your taste preferences.
Why Grow Microgreens Indoors?
Indoor microgreen gardening allows for year-round production, independent of outdoor weather conditions. This means you can enjoy fresh greens even during winter or when outdoor space is unavailable. Plus, the time from planting to harvest is incredibly short, often just 1–3 weeks.
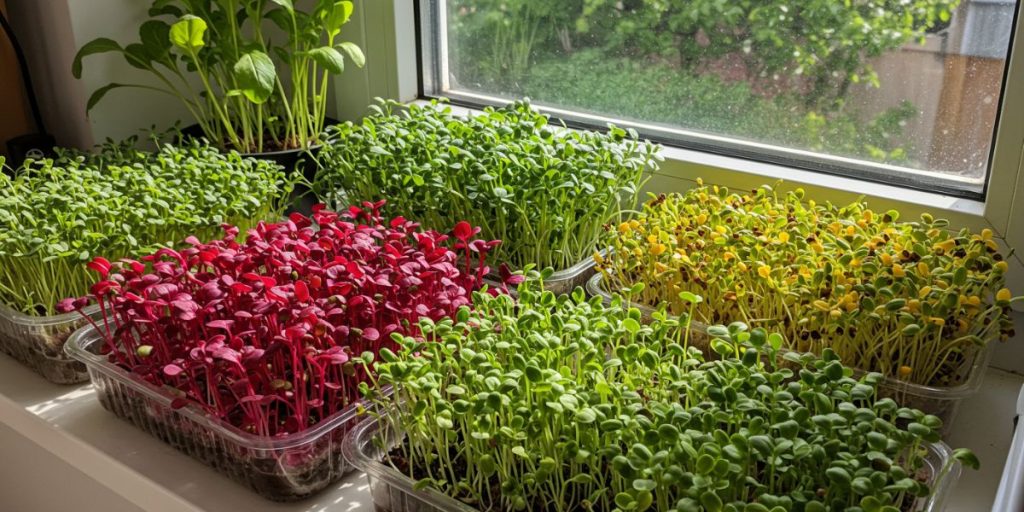
One of the biggest benefits of growing microgreens indoors is the minimal space required. Trays can easily fit on a windowsill, countertop, or shelf. Additionally, growing your own microgreens is a cost-effective alternative to buying pricey packs at the store, and it reduces packaging waste, contributing to a more sustainable lifestyle.
Related post: For more tips on growing veggies all year long, check out this awesome guide.
What You Need to Get Started
Containers and Trays
To start growing microgreens, you’ll need shallow containers or trays with drainage holes. Repurposed plastic containers, seedling trays, or specialized microgreen trays work well. Proper drainage is vital to prevent mold and support healthy root development.
Growing Medium (Soil vs. Hydroponic)
Microgreens can be grown in soil or hydroponically using mediums like coconut coir or grow mats. Soil tends to yield more flavorful and vigorous greens, while hydroponic systems offer cleaner harvesting and fewer messes. Choose the method that best suits your cleanliness preferences and planting goals.
The least amount of cleanup involved for me, thanks!
Seeds Selection and Sourcing
Use seeds specifically labeled for microgreen production to ensure high germination rates and food safety. Organic and non-GMO seed options are widely available from garden centers and online retailers. Always use fresh, untreated seeds, as some seeds for traditional farming may contain harmful treatments not suitable for indoor edible use.
Lighting Requirements (Natural Light vs. Grow Lights)
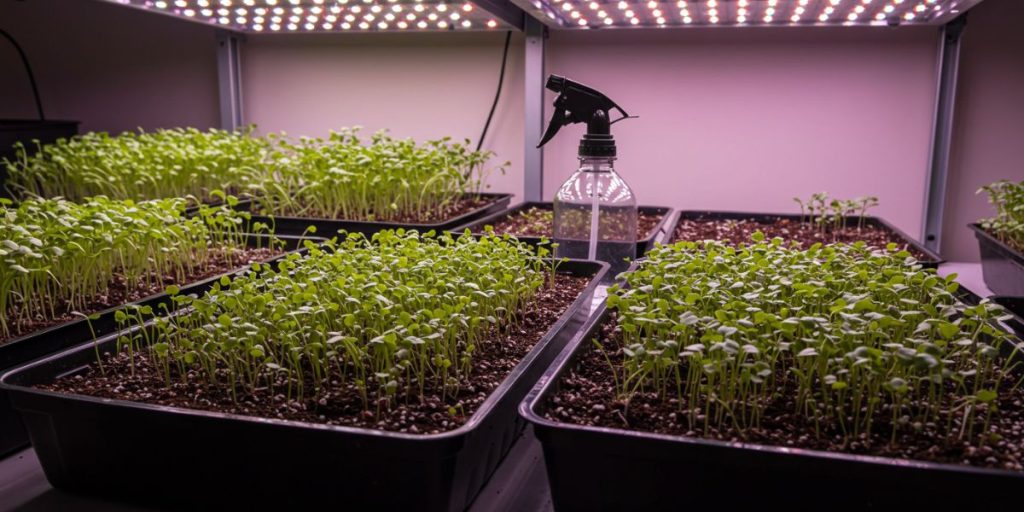
Microgreens need adequate light—either from a sunny windowsill or artificial grow lights. A south-facing window usually provides enough light, but supplemental lighting ensures stronger, more uniform growth. LED grow lights are energy-efficient and ideal for consistent indoor production.
Watering Tools and Techniques
Use a spray bottle or gentle watering can to keep the growing medium moist, not soggy. Overwatering can cause mold, while underwatering can stunt growth. Aim for light, regular misting during germination and a steady watering routine once leaves appear.
Step-by-Step Guide on How to Grow Microgreens Indoors
Preparing the Trays and Growing Medium
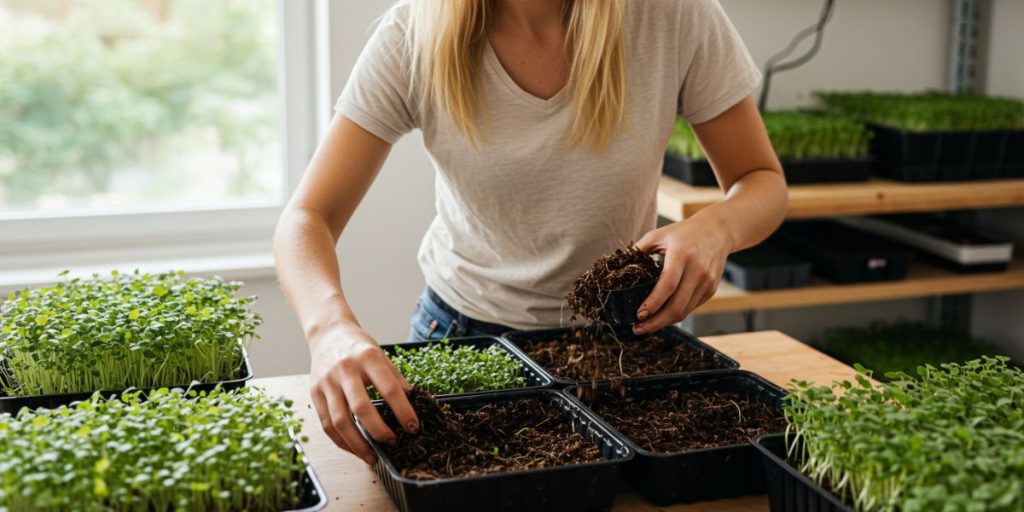
Begin by filling your tray with your chosen growing medium, about 1–2 inches deep. Level the surface and lightly pat it down—too much compression may hinder root penetration. Moisten the medium before sowing your seeds to ensure even water absorption.
Sowing Microgreen Seeds
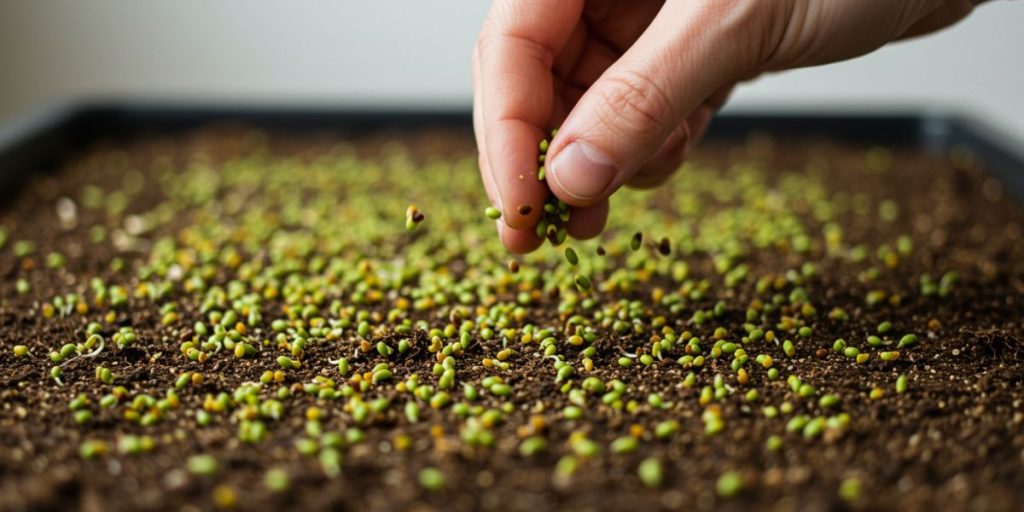
Sprinkle seeds evenly over the surface without overcrowding, as dense sowing can lead to poor airflow. Some seeds benefit from soaking prior to sowing, such as sunflower and pea shoots. Lightly press the seeds into the moist surface, but don’t cover them with additional medium unless required by the seed type.
Germination Phase (Covered Stage)
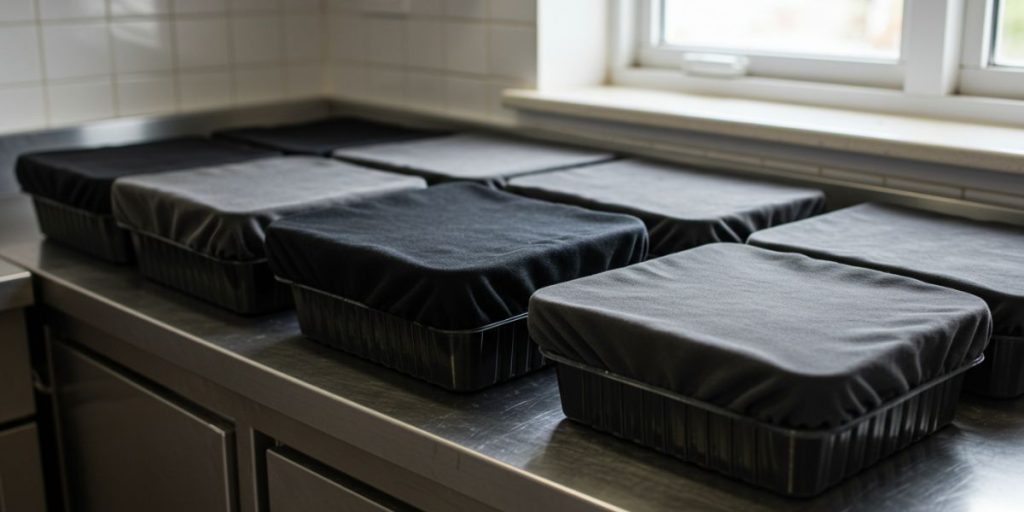
Cover the tray with a humidity dome, black-out dome, or another tray to create a dark, humid environment. This simulates soil coverage and enhances germination rates. Keep the seeds in the dark for 2–4 days, checking daily for sprouting.
Light Exposure and Growth Phase
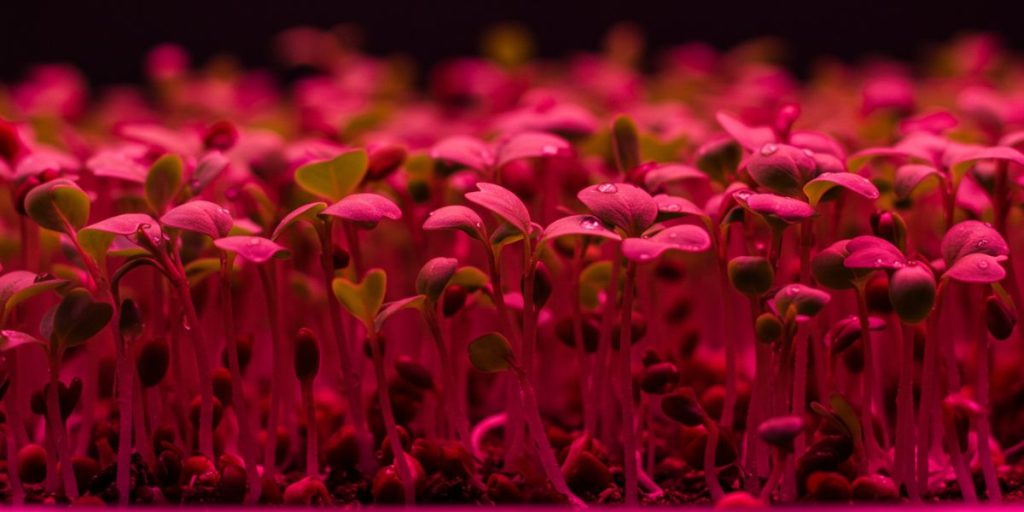
Once sprouts begin emerging, uncover the tray and place it under a light source. Maintain at least 12–16 hours of light per day for vigorous growth. Adjust the height of grow lights as plants grow to prevent leggy stretching.
Watering Schedule and Care Tips

Mist or bottom-water the tray daily to keep the roots hydrated without saturating the leaves. Rotate trays if using natural light to promote even growth. Ensure good airflow around the trays to reduce humidity-related issues.
When and How to Harvest
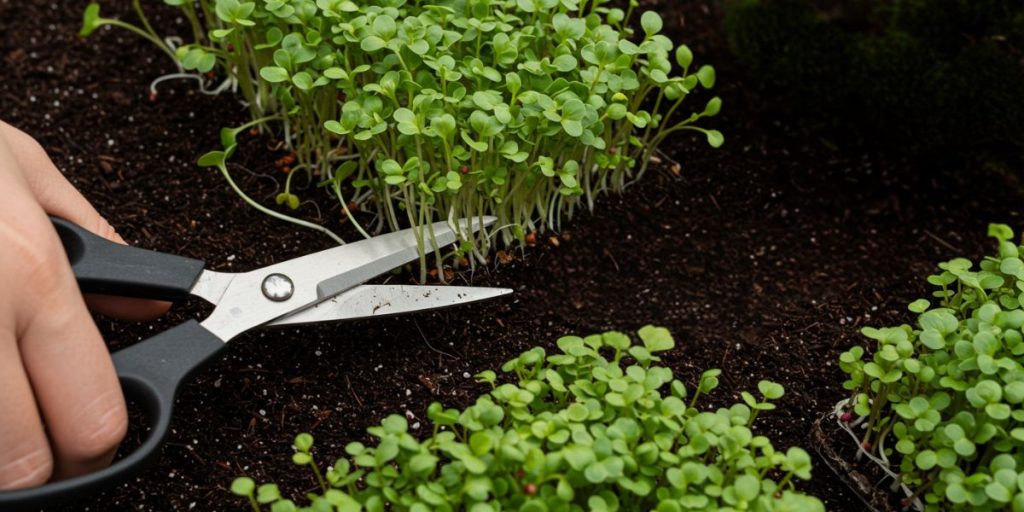
Harvest microgreens when they develop their first true leaves, usually between 7–21 days. Use clean scissors or a sharp knife to cut them just above the soil line. For best results, harvest just before use and rinse lightly if needed.
Troubleshooting Common Issues When Learning How to Grow Microgreens Indoors
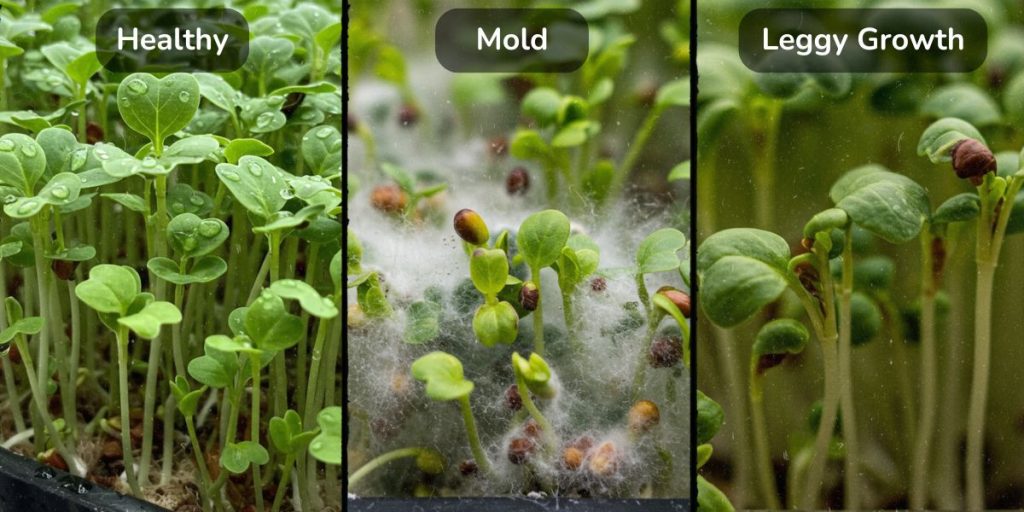
Mold and Mildew
Excess moisture and poor airflow often lead to mold. Avoid overwatering, allow ventilation, and sanitize containers regularly. Use a small fan to increase circulation if needed.
Leggy Growth
Leggy microgreens indicate insufficient light. Ensure your plants receive enough daily light, either from a sunny window or a grow light close to the tray. Rotate trays regularly if growing on windowsills.
Uneven Germination
This can result from inconsistent seed spreading or uneven moisture distribution. Always pre-moisten the growing medium and spread seeds evenly. Pressing seeds into the medium lightly can also help provide consistent contact.
Pest Problems Indoors
Though rare, indoor pests like aphids or gnats can attack microgreens. Use neem oil spray or sticky traps as a non-toxic solution. Always keep the growing area clean to deter infestations.
Tips for Success and Better Yields
Choosing High-Quality Seeds
Begin with seeds from reliable sources to ensure high germination and food safety. Quality seeds produce stronger, tastier plants and fewer problems during growth.
Ideal Indoor Temperature and Humidity
Microgreens thrive in temperatures between 60–75°F with moderate humidity levels. Avoid placing trays near heating vents or cold drafts to maintain consistent conditions.
Rotating Trays and Light Sources
For even growth, rotate trays every couple of days if using natural lighting. Adjust grow lights daily to keep optimal distance from the tops of the microgreens.
Staggered Planting for Continuous Harvest
Start new trays every few days to enjoy a continuous supply. By staggering plantings, you can always have a fresh batch of greens ready to harvest without waiting between cycles.
Storing and Using Harvested Microgreens
Harvesting Techniques to Avoid Damage
Use clean, sharp scissors and handle microgreens gently to avoid bruising and oxidation. Harvest in the early morning when greens are freshest and most hydrated.
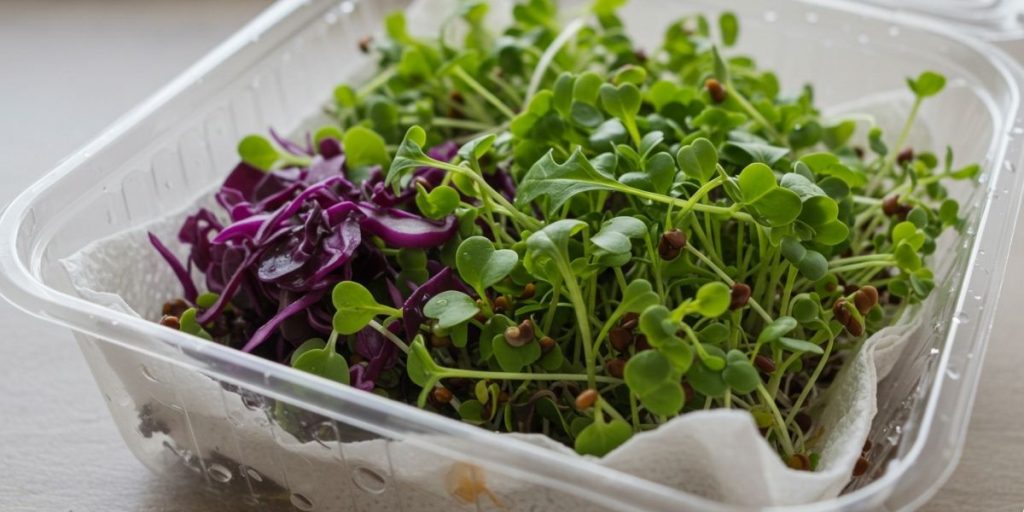
Proper Storage to Retain Freshness
Store harvested microgreens in an airtight container or sealed bag with a paper towel to absorb excess moisture. Keep them in your refrigerator and use within 3–7 days for maximum flavor and nutrition.
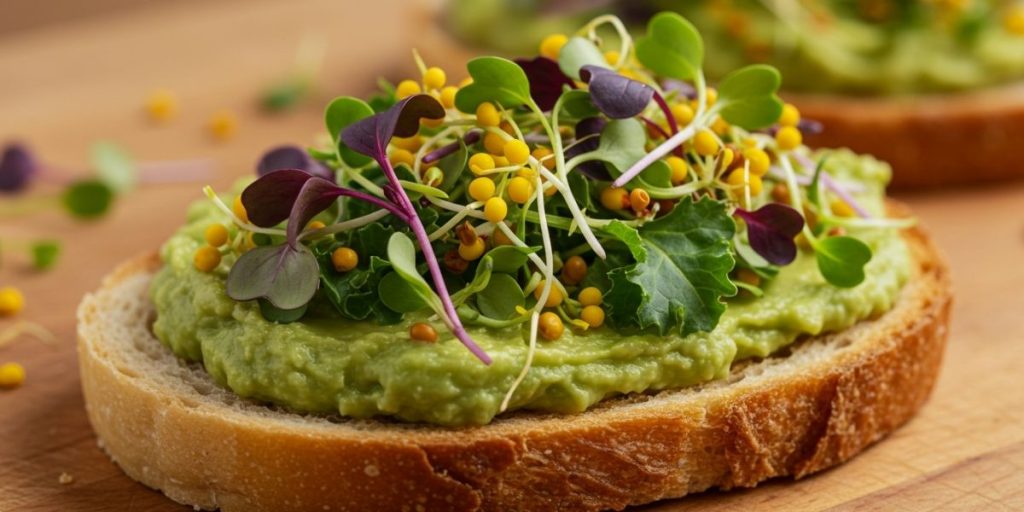
Culinary Uses and Recipe Ideas
Microgreens bring flavor and color to almost any dish. Use them as a garnish on soups, salads, sandwiches, eggs, and smoothies. Popular pairings include radish microgreens for spice or sunflower shoots for crunch.
Conclusion
Growing microgreens indoors offers a rewarding way to enjoy fresh, nutrient-packed greens with minimal time and resources. They’re fast-growing, space-saving, and perfect for both urban environments and rural homes.
Start with beginner-friendly varieties like radish or broccoli microgreens to build confidence and refine your technique. With a few basic supplies and consistent care, you can enjoy continuous harvests of flavorful, homegrown greens.
Explore more resources on hydroponic growing or indoor gardening to expand your microgreen skills even further. With practice, your countertop harvests can become a staple of your healthy, sustainable lifestyle.
I hope this article has given you a better understanding of how to grow microgreens indoors. Happy growing (and eating)!